Iris photo editing: from camera file to finished iris
This page walks through what really happens when an iris photograph is edited – and which of those steps IRISORA takes off your hands.
- Cut-out along the true iris boundary
- Structure and colour handled separately
- A quality check on every version
- Output at 4096 × 4096 pixels
What is actually in an iris capture
A typical studio capture contains far more than the iris. Lashes usually cross the upper third, the sclera starts at the edge, your light source leaves reflections, and depending on the setup the upper lid casts a shadow into the frame.
Each of those needs different treatment. A specular reflection is not a lash shadow, and a lid edge is not image noise. A generic filter chain is the wrong tool for iris work.
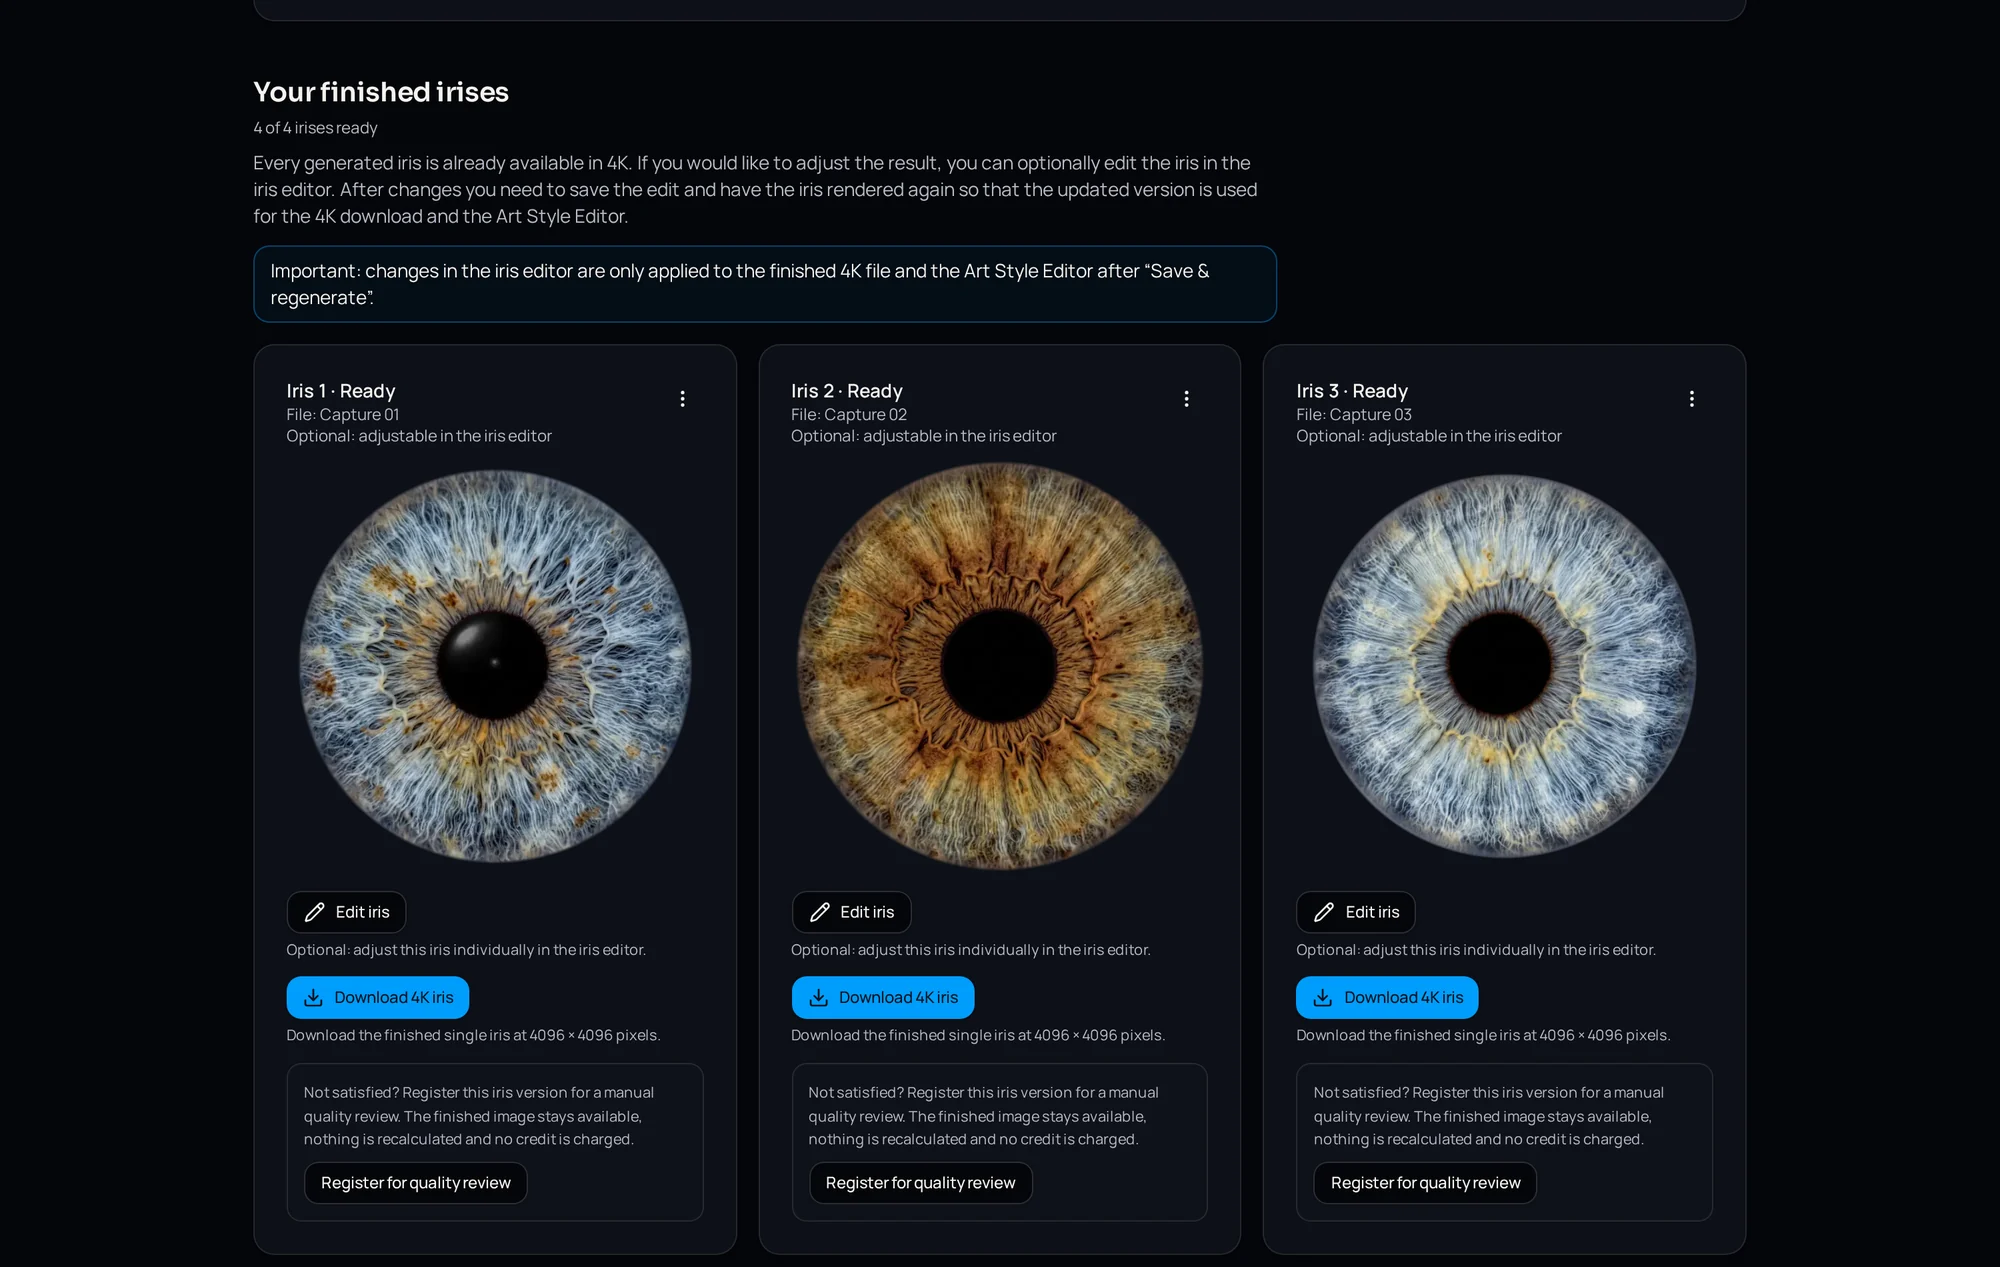
The editing steps in detail
1. Find the iris boundary
First the software determines where the iris really ends. It estimates a full circular boundary from the visible limbus segments rather than following the irregular lid contour, so the edge stays round even where part of it was covered.
2. Cut it out
Everything outside that boundary is removed. The edge fades softly and the file carries an alpha channel, so you never have to mask it a second time.
3. Work out the structure
Fibres, crypts and pigment zones are given depth. The goal is readable real structure, not aggressive sharpening that outlines every edge.
4. Treat the colour
Colour is handled separately from structure instead of saturating the whole frame. A grey-green iris stays grey-green under warm or cool studio light.
5. Pupil and transition
The pupil is separated cleanly while the transition into the fibres stays soft. Hard circles read as artificial the moment you print them.
6. Review and export
The result is checked and rendered to 4096 × 4096 pixels at 300 dpi.
What automated editing can and cannot do
Editing always works with the capture you made. What the camera never recorded cannot be recovered: a soft capture stays soft, and an iris region fully hidden behind lashes stays difficult.
That is why IRISORA attaches a quality check with concrete findings to every finished version instead of silently returning a file. You can see whether lid areas were detected, whether regions are missing or whether the capture was too dark – and decide deliberately.
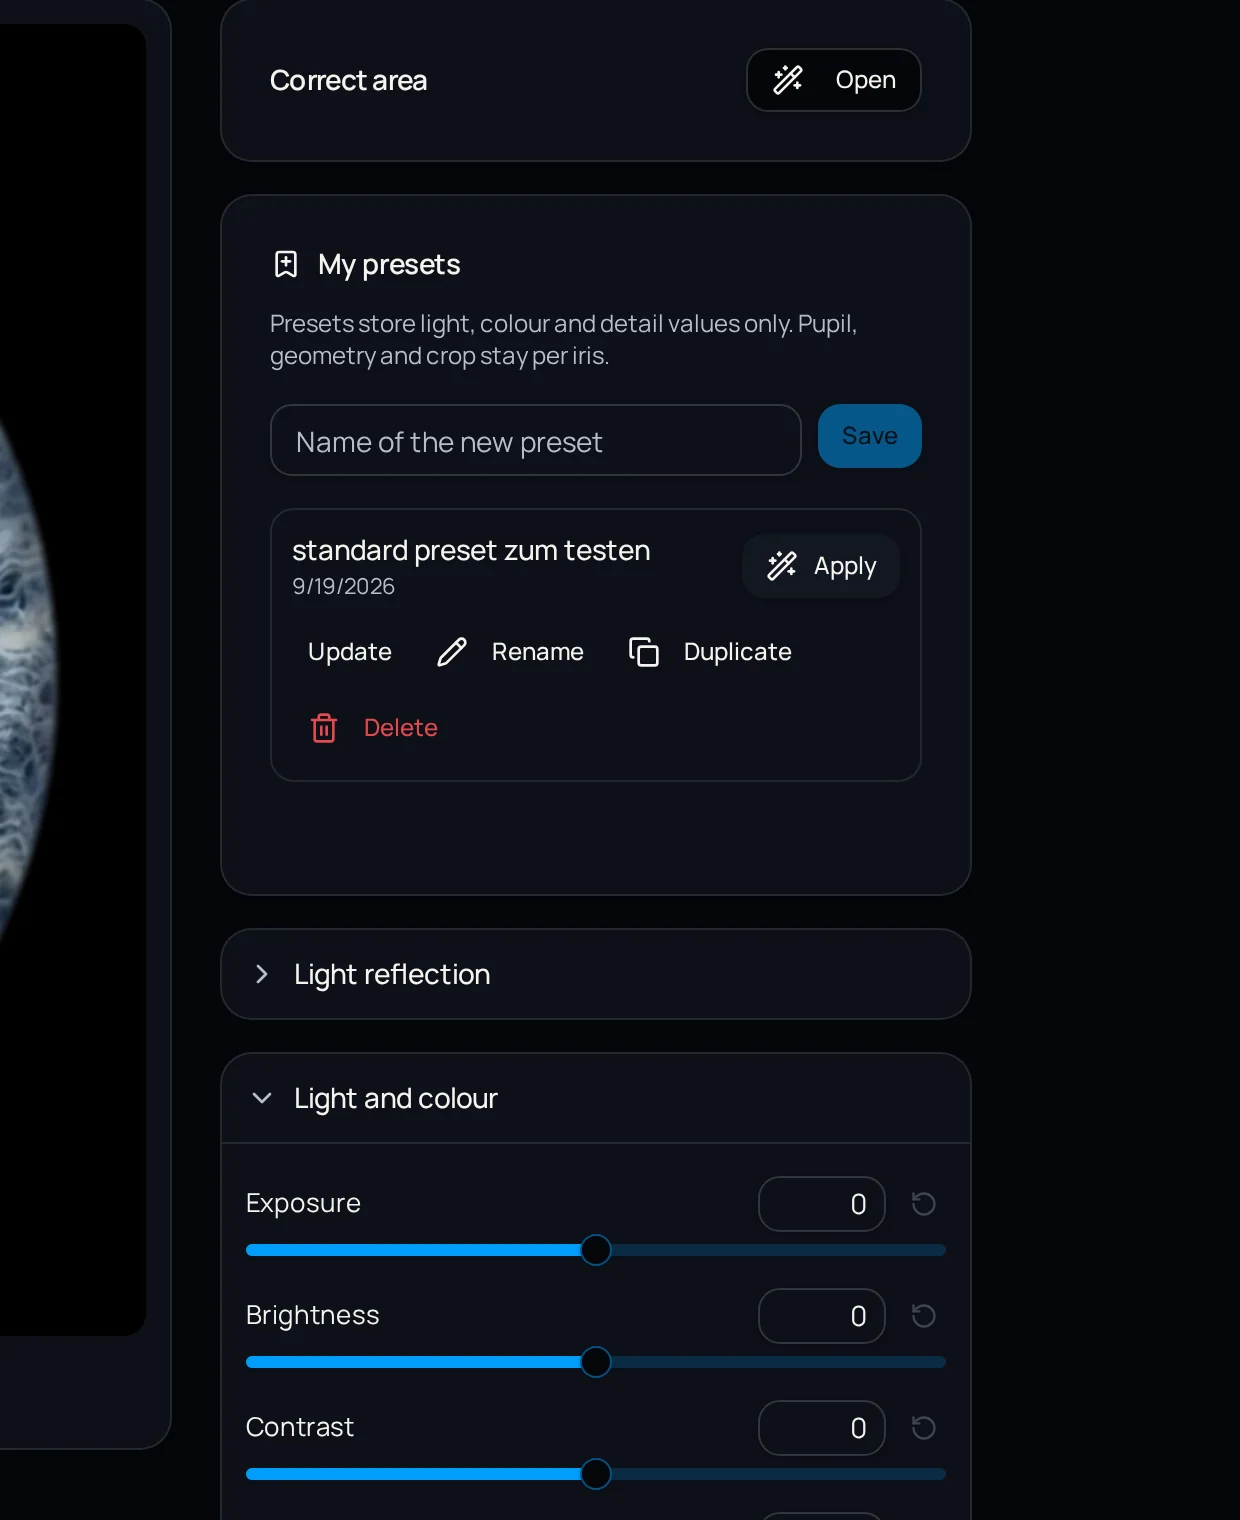
Fine-tuning in the iris editor
- Position and size of the iris inside the frame
- Correct the pupil marker
- Adjust the crop
- Place an optional light reflection and control rotation and intensity
- Save settings as a preset and apply them to further irises
And afterwards?
You can download the finished iris and continue in your own workflow – Lightroom, Photoshop, your layout application or straight to print.
If you want a designed artwork, the same iris moves into the Art Style Editor. It is never mandatory.
Frequently asked questions
- Are lashes always removed completely?
- Not in every case. Lashes across the iris are handled during processing, but where a region is fully covered the quality check says so. An honest finding beats an invented result.
- Do eye colours stay true?
- Yes, that is the explicit goal. Colour and structure are treated separately so nothing is globally oversaturated.
- Can I process several captures in a row?
- Yes. Captures are grouped into projects and processed one after another through a fair queue.
Keep reading
Run one of your own captures through it
Upload one of your files and compare the result with your current retouching. 5 free editing credits included.
5 free iris edits included